embed signage Tutorial: PowerPoint for Digital Signage

With Microsoft PowerPoint’s mass usage we often get asked: “Can I upload a PowerPoint Presentation to display on my screens?” To which we always respond with: “PowerPoint files are not natively supported but there are some ways in which you can get the presentation onto the screens”… that being said we always strongly recommend using the built in tools such as multiple layered zones and pages and to create signage content along with the use of other tools such as Adobe After Effects and Photoshop.
This post is set out to help those folks that are already using PowerPoint and need to display it on their devices. So here’s our step-by-step guide on how to use PowerPoint with .
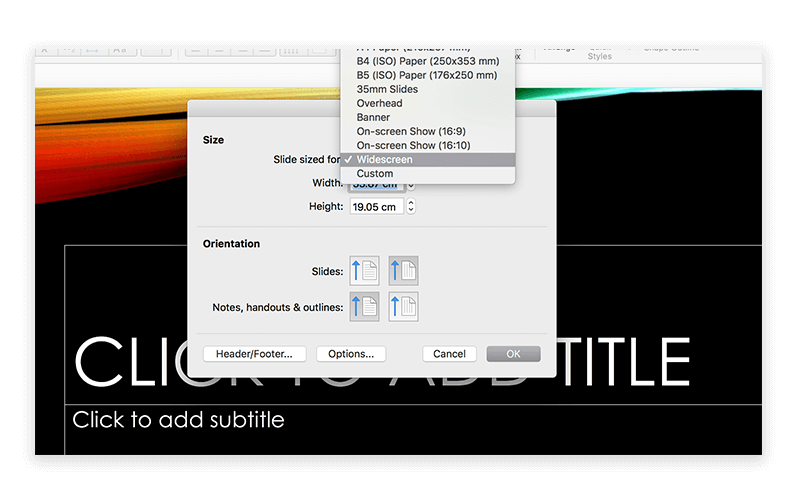
Step One. Make sure your document size is set up for your device to avoid the dreaded black borders. Select File > Page Setup and change the default slide sizing to Widescreen / 16:9 aspect ratio / or custom resolution depending on the the resolution of your display.
Step Two. Once you’ve got your sizing done and your content populated, you need to export it. There are two ways you can do this:
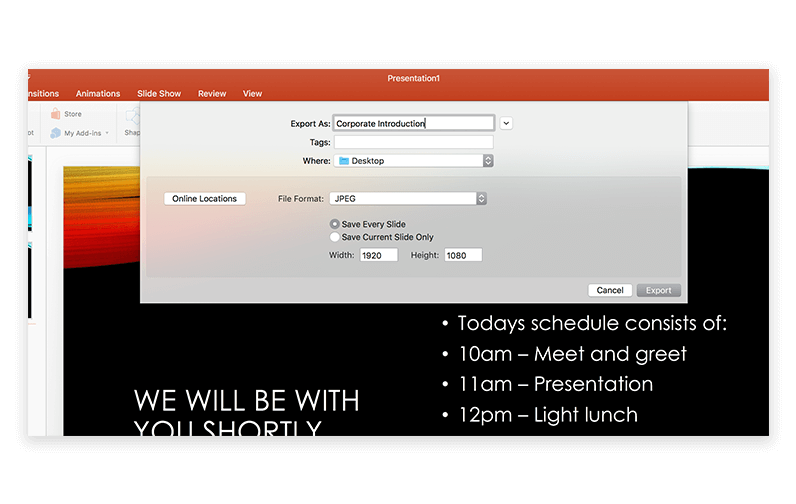
1) Each slide as a separate image
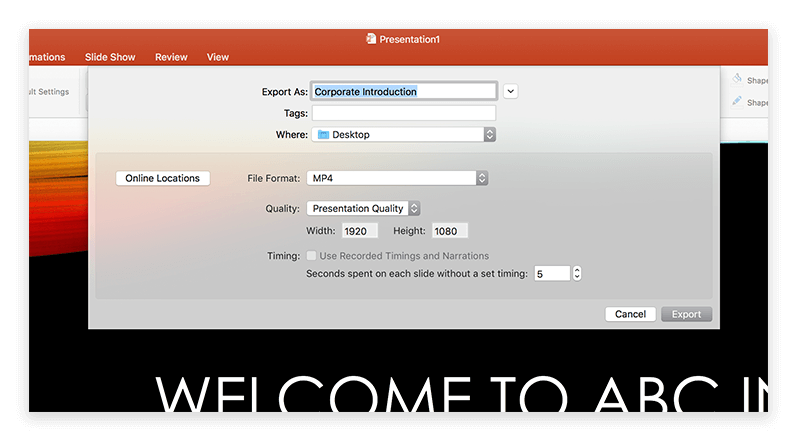
2) The entire presentation as a video (good if you have animated elements or slides)So to do the first one and render each slide as a separate image, select File > Export > Change the file format to JPEG and the resolution to Full HD – Width 1920 Height 1080. This will also depend on the resolution of your display.
To export the presentation as a video, you can export your presentation in a MP4/Video format. This will also take into account any transitions you have added to your slides. Just select the time between slides then export.
Step Three. Now the presentation has been exported, the individual JPEG files or Video file can be uploaded to the media section of your account

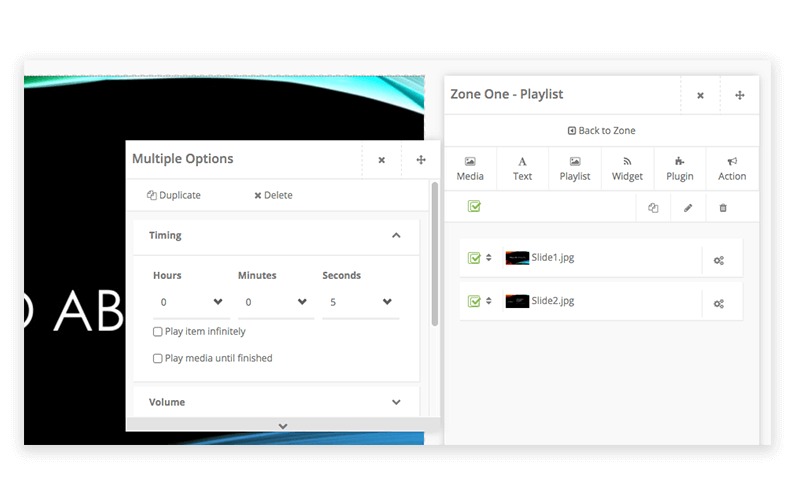
Step Four. Create a new layout or edit an existing one with suitable resolution(s) for your devices and insert the media into a zone. For multiple slide images, insert all the images uploaded and adjust the order with the first at the top.

If desired, additional zones can be layered over the PowerPoint media zone for real time information such as time, date, Twitter feeds, RSS.
Step Five. If using multiple images in a zone, adjust the timing for all images to have the same timing: select all, bulk edit, then adjust the timing and animation between images. You can also set individual timing per slide if you want certain ones on the screen for longer.
Then once happy with your layout, Save & Preview it to ensure it displays as you expect.
Step Six. Now the layout is set up and good to go, you now need to publish it to your screens. Under channels, publish the layout to the relevant device(s).
There you have it, some quick and easy ways to get your PowerPoint presentation on all of your devices with .
Not using yet?
Start a Free Trial or get in touch with us to discuss your project in more detail.
For more insights like this, sign up to our mailing list and be the first to know.